This post requires a little explanation. Last year, as part of a school project, I made a website. It was a website all about making little goodies for others and I hate to say it..but it isn't very good..
I needed to take most pictures with my ipad, in dark light. I couldn't really think of good projects and because I was forced to work behind this theme it wasn't really anything I could ever truly connect with. I suppose you could visit it..but it really isn't worth it <http://www.simplybecause.weelby.com>. Anyway, I suddenly remembered yesterday that I'd told myself in my 'New Year's Resolutions' post that I needed to do more DIY blog posts and so I decided to post this. It is a little wall hanger that can be made completely out of:
-thread
-paint samples
-a wooden twig or stick
This is probably the project that I am most proud of out of all the projects on my website. So here it goes.
Sadly..I was still learning how to use my DSLR at this point so I'm truly sorry if some of the pictures are..well...bad.
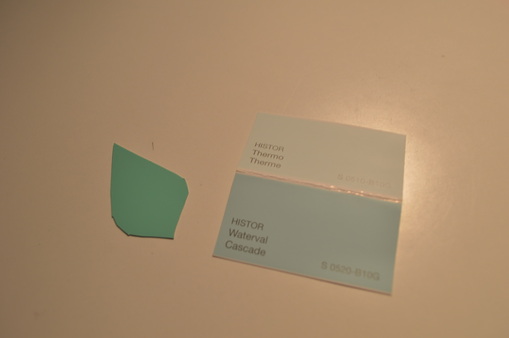
Don't worry if your cutting quality isn't exactly how you want it. Just remember that it won't be noticeable when their all hanging together. I decided to follow a blue/purple theme because those are the main colours in my room, but I can imagine that bright red and orange colours could look really nice too!
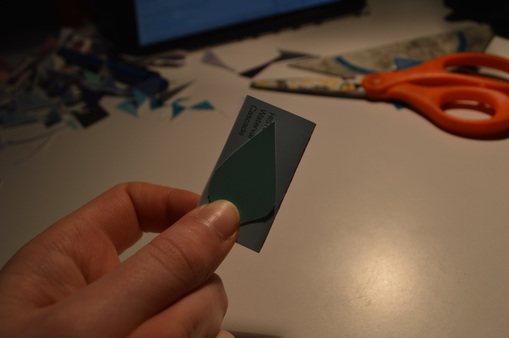
As you can see, I simply used one cut sample and used it as a template for all the other pieces.
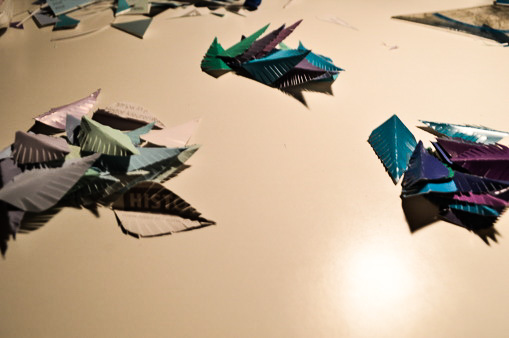
Once you've cut all the little feathers with their little ribbles, organise them into little piles. I decided that I wanted a little ombre effect so I organised them from light to dark.
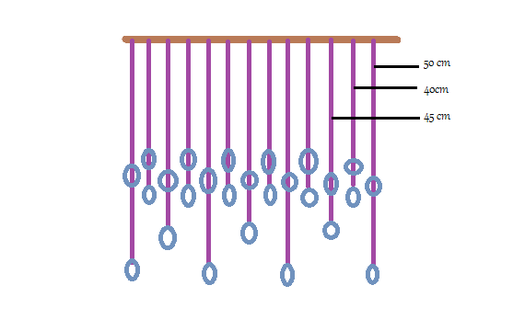
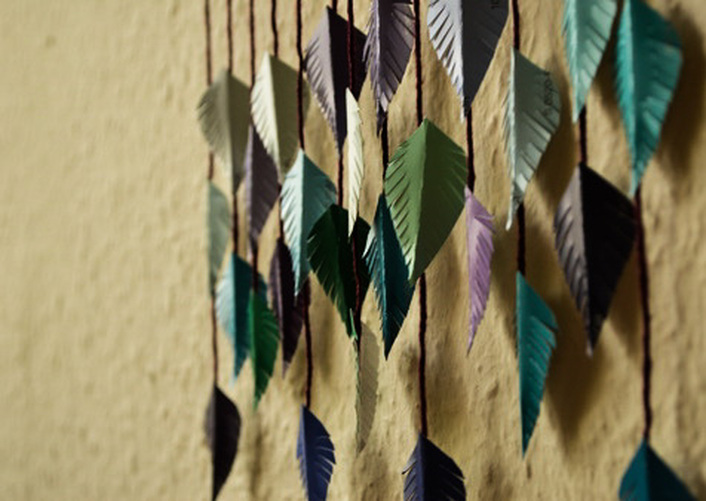
I made this little diagram to show you the three different lengths of string I decided to go with. As you can see I stuck two pieces on each thread to keep the decoration seem busy.
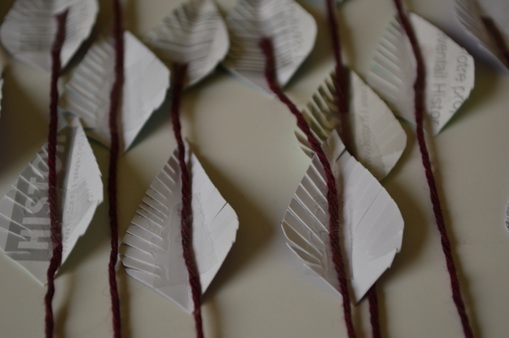
Trust me, the easiest way to stick these little feathery papers is with tape on the back. Do everything back to front and stick them all with tape.
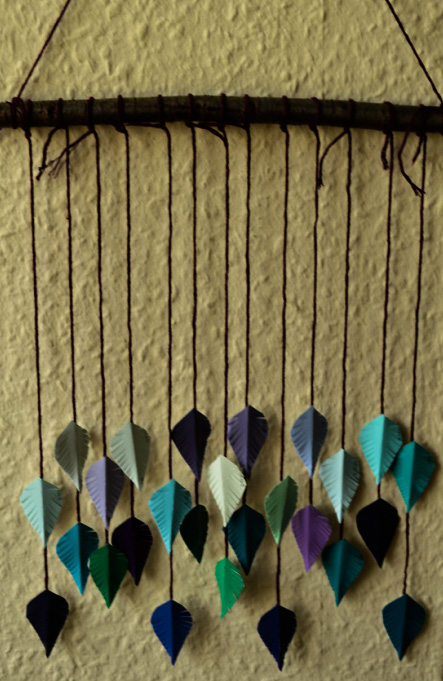
And there you have it!
a little project that is truly worth the fiddling. After an entire year mine is still hanging there like a trustworthy companion. I'm really sorry about the heavily edited pictures but I just enjoyed this project so much that I thought it would be worth it ;)
hopefully you agree!
a little project that is truly worth the fiddling. After an entire year mine is still hanging there like a trustworthy companion. I'm really sorry about the heavily edited pictures but I just enjoyed this project so much that I thought it would be worth it ;)
hopefully you agree!